
Installing a dishwasher is a practical and rewarding DIY project that saves time and money. With the right tools, preparation, and careful attention to detail, you can have your new appliance up and running efficiently. This detailed dishwasher installation guide provides everything you need to know, from removing the old unit to installing and leveling the new one.
Tools Required for Dishwasher Installation
Having the correct tools on hand is essential for a smooth installation process. Here’s what you’ll need:
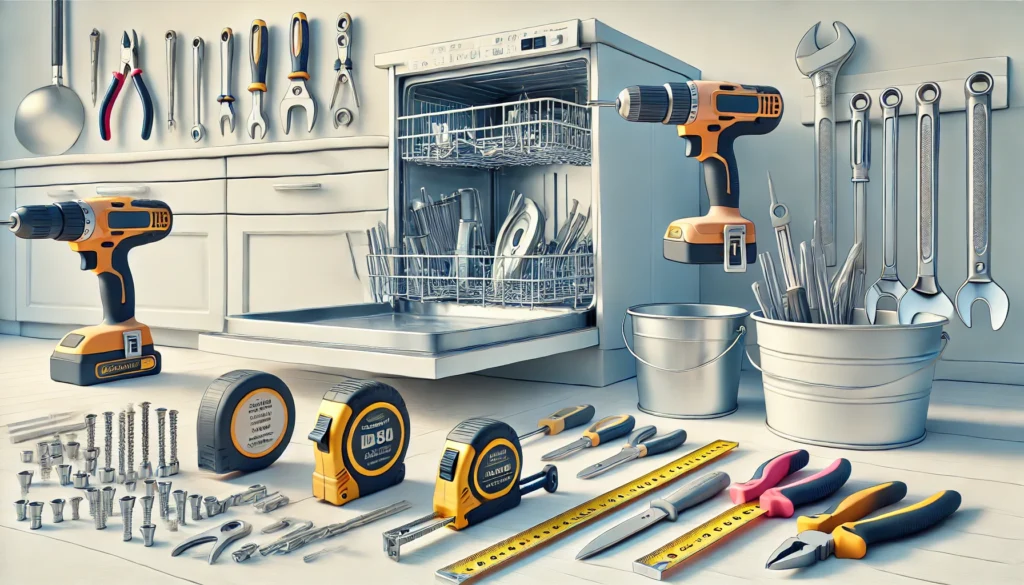
- Adjustable wrench: For tightening and loosening fittings.
- Phillips and flathead screwdrivers: For removing panels and securing screws.
- Measuring tape: To ensure proper placement and fit.
- Level: For aligning the dishwasher correctly.
- Drill (with bits): For making holes or securing brackets.
- Pliers: To grip and twist components.
- Bucket or towels: To catch water spills when disconnecting hoses.
- Utility knife: For trimming hoses or removing sealant.
- Work gloves: To protect your hands during installation.
- Flashlight: For better visibility in tight spaces.
Accessories Required
You’ll also need specific accessories to ensure a secure and functional installation:
- New dishwasher installation kit: Typically includes a water supply line and necessary fittings.
- Teflon tape: For sealing threaded connections to prevent leaks.
- Hose clamps: To secure the drain hose in place.
- Power cord: If not pre-installed with the dishwasher.
- Mounting brackets: To secure the dishwasher to cabinets or countertops.
- Drain hose: Replace the existing one if it shows signs of wear.

Step 1: Removing the Old Dishwasher
Removing the old dishwasher is the first step in preparing for the new one. Follow these steps carefully:
- Turn Off Power and Water Supply
- Locate the circuit breaker and turn off the power supply to the dishwasher.
- Shut off the water supply valve under the sink.
- Disconnect Electrical Connections
- Remove the lower access panel using a screwdriver to expose the electrical box.
- Disconnect the wiring by unscrewing the wire nuts and separating the wires. Label the wires to simplify reconnection later.
- Detach Water Supply Line
- Place a bucket beneath the water supply line connection.
- Use an adjustable wrench to disconnect the line from the dishwasher’s water inlet.
- Disconnect the Drain Hose
- Locate the drain hose where it connects to the sink drain or garbage disposal.
- Loosen the clamp and carefully pull the hose free, allowing any remaining water to drain into the bucket.
- Remove the Old Dishwasher
- Unscrew the mounting brackets that secure the dishwasher to the countertop or adjacent cabinets.
- Carefully slide the dishwasher out of its space, ensuring hoses and cords don’t snag.
Step 2: Installing the New Dishwasher
- Prepare the Installation Space
- Clean and inspect the area where the old dishwasher was removed.
- Confirm that the water supply, drain, and electrical connections align with the new unit’s specifications.
- Attach the Drain Hose
- Connect the drain hose to the dishwasher’s drain outlet, securing it with a hose clamp.
- Feed the hose through the cabinet to the sink or garbage disposal connection.
- Connect the Water Supply Line
- Wrap Teflon tape around the threads of the dishwasher’s water inlet.
- Attach the water supply line using the fittings from the installation kit and tighten securely.
- Make Electrical Connections
- Open the electrical box on the dishwasher and feed the house wiring through the strain relief.
- Match the wires: black to black (hot), white to white (neutral), and green to ground.
- Secure the connections with wire nuts and close the box.
- Position the Dishwasher
- Carefully slide the dishwasher into place, ensuring that hoses and wires are not kinked or pinched.
- Secure the Dishwasher with Brackets
- Use the mounting brackets to secure the dishwasher. Depending on your setup, brackets can be attached to:
- The Top: Screw them into the underside of the countertop.
- The Sides: Attach them to the adjacent cabinets for additional stability.
- Use the mounting brackets to secure the dishwasher. Depending on your setup, brackets can be attached to:
Step 3: Level the Dishwasher
A level dishwasher is crucial for proper functioning and preventing leaks. Here’s how to do it:
- Place a level on the dishwasher door or top rack.
- Adjust the leveling feet using pliers or a wrench until the unit is perfectly level.
- Check both side-to-side and front-to-back alignment.
- Tighten the feet securely to maintain the position.
Step 4: Test the Installation
- Reconnect Power and Water
- Turn on the water supply valve and restore power at the circuit breaker.
- Run a Test Cycle
- Start a short wash cycle to ensure everything is working properly.
- Check for leaks at the water supply connection, drain hose, and around the dishwasher base.
- Verify that the dishwasher drains and fills correctly.
Need Professional Help? Instafit Appliances Has You Covered!
While installing a dishwasher can be a fulfilling DIY project, it’s not always straightforward. For a hassle-free experience, trust Instafit Appliances. Our team of expert technicians specializes in professional appliance installation, ensuring your dishwasher operates efficiently and safely. Contact Instafit Appliances today for reliable, top-notch service!