
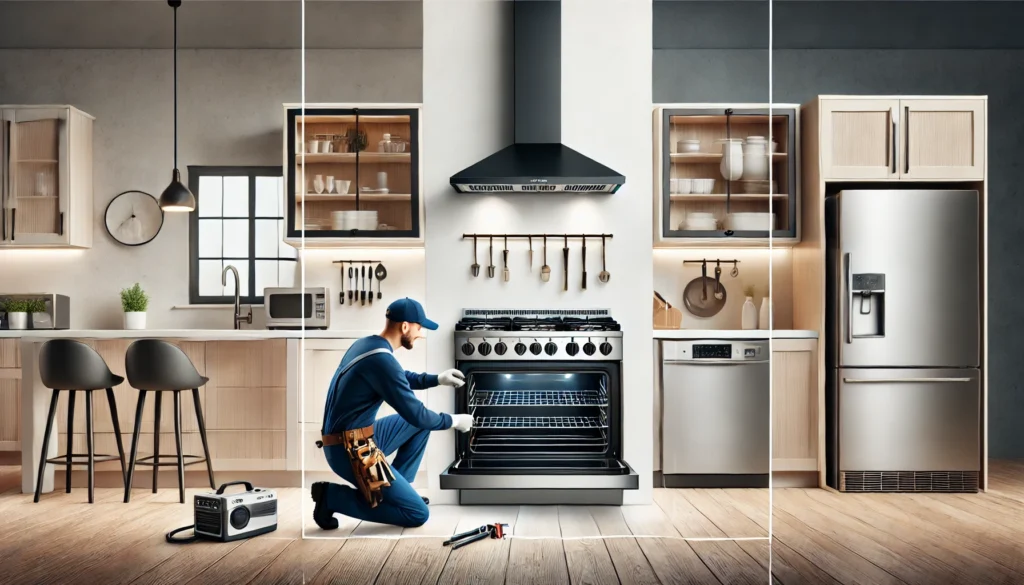
Installing a gas range is a straightforward but critical task that requires attention to detail and adherence to safety protocols. This comprehensive guide will walk you through each step, from preparation to testing, ensuring your appliance is safely and properly gas range installation.
Tools Required for Gas Range Installation
- Adjustable wrench
- Pipe wrench
- Screwdrivers (flathead and Phillips)
- Measuring tape
- Gas leak detector solution or soapy water
- Teflon tape (gas-rated)
- Utility knife
- Work gloves
- Flashlight
- Level
Accessories Required
- Flexible gas supply line (certified for your range)
- Gas shut-off valve (if not already installed)
- Pipe fittings (as needed)
- Anti-tip bracket (included with the range)
- Electrical cord (if required and not pre-installed)
Step 1: Preparing for Installation
- Turn Off the Gas Supply
- Locate the gas shut-off valve near the installation area and turn it off.
- Inspect the Installation Space
- Ensure the area meets the manufacturer’s specifications for clearance and ventilation.
- Check for a nearby electrical outlet for the range’s igniter.
- Verify the floor is level; use shims if necessary.
- Remove Old Range (if applicable)
- Disconnect the gas line using a pipe wrench.
- Unplug the electrical cord.
- Unscrew the anti-tip bracket and carefully slide the old range out.
- Clean the area to remove grease and debris.
Step 2: Installing the New Gas Range
- Install the Anti-Tip Bracket
- Position the anti-tip bracket on the wall or floor as specified in the manufacturer’s instructions.
- Secure the bracket with screws to prevent the range from tipping forward.
- Connect the Flexible Gas Supply Line
- Apply gas-rated Teflon tape to the threads of the range’s gas inlet.
- Attach one end of the flexible gas supply line to the range’s gas inlet and tighten it with a wrench.
- Position the Gas Range
- Carefully slide the range into place, ensuring the flexible gas line and power cord are not pinched.
- Align the range with surrounding cabinetry for a flush fit.
- Secure the Range to the Anti-Tip Bracket
- Engage the range’s rear foot or designated anchor point with the anti-tip bracket.
Step 3: Connecting to the Gas Supply
- Attach the Gas Line to the Shut-Off Valve
- Apply gas-rated Teflon tape to the shut-off valve’s threads.
- Connect the other end of the flexible gas supply line to the shut-off valve and tighten it securely with a pipe wrench.
- Check for Gas Leaks
- Turn on the gas supply slowly.
- Apply gas leak detector solution or soapy water to all connections.
- Look for bubbles that indicate a gas leak.
- If a leak is detected, turn off the gas and tighten the connections before retesting.
Step 4: Electrical Connection
- Plug in the Power Cord
- If your gas range has an electric ignition system, plug the cord into a nearby outlet.
- Ensure the cord is not in contact with any hot surfaces.
Step 5: Testing the Range
- Test Burners and Oven
- Turn on each burner to ensure proper ignition and a steady, blue flame.
- Test the oven by setting it to a specific temperature and verifying it heats correctly.
- Check for Proper Ventilation
- If your range requires an external vent, ensure the ventilation system operates efficiently.
Safety Tips
- Always follow the manufacturer’s installation instructions and local building codes.
- Use only certified gas supply lines and fittings.
- Avoid using an open flame to test for gas leaks; always use a gas leak detector solution.
Need Professional Assistance? Instafit Appliances Can Help!
With over 11 years of experience, Instafit Appliances specializes in safe and efficient gas range installations. Our certified team ensures your appliance is installed to meet all safety standards, giving you peace of mind. Contact us today for reliable and professional service!