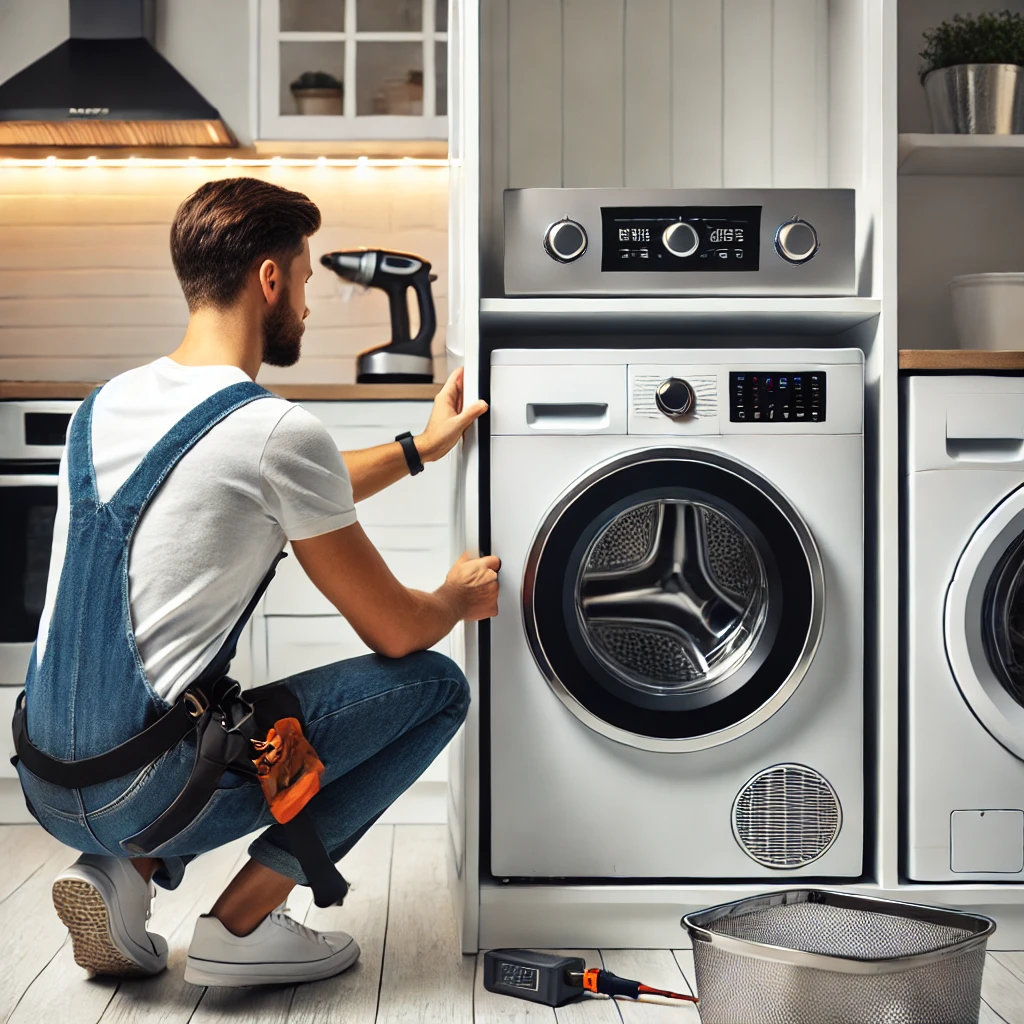
Installing a laundry machine, whether a washer, dryer, or combination unit, requires careful planning and adherence to safety protocols. This comprehensive guide outlines everything you need to know to set up your laundry appliances correctly.
Tools Required
- Adjustable wrench
- Screwdrivers (flathead and Phillips)
- Pliers
- Level
- Measuring tape
- Bucket or large bowl
- Work gloves
Accessories Required
- Water supply hoses (hot and cold)
- Drain hose (typically included with the washer)
- Dryer vent duct (for dryers)
- Dryer power cord (if not pre-installed)
- Hose clamps
- Anti-vibration pads (optional)
Step 1: Preparing for Installation
- Select the Right Location
- Ensure the space is level and has easy access to water, drainage, and power outlets.
- Check that the area meets clearance requirements for proper ventilation (especially for dryers).
- Inspect Connections
- Verify the water supply valves and electrical outlets are in good working order.
- Ensure the drainpipe or sink for the washer’s drain hose is accessible.
- Unpack the Machine
- Remove all packaging materials, including shipping bolts (on washers).
- Check the manufacturer’s instructions for any pre-installation steps.
Step 2: Installing the Washer
- Connect Water Supply Hoses
- Attach the hot and cold water hoses to the corresponding inlet valves on the back of the washer.
- Tighten connections securely using pliers but avoid over-tightening.
- Connect the other ends of the hoses to the water supply valves and ensure they are tightly secured.
- Attach the Drain Hose
- Connect the drain hose to the washer’s outlet and secure it with the provided clamp.
- Position the hose into the drainpipe or over the edge of a sink, ensuring it is securely fixed to prevent dislodgement.
- Level the Washer
- Use a level to check that the washer sits evenly on the floor.
- Adjust the leveling feet as needed to eliminate any wobbling.
- Test the Washer
- Turn on the water supply valves.
- Run a short wash cycle without laundry to check for leaks and proper functioning.
Step 3: Installing the Dryer
- Attach the Vent Duct
- Connect the vent duct to the dryer’s exhaust outlet and secure it with a hose clamp.
- Extend the duct to the external vent or designated outlet, avoiding sharp bends or kinks.
- Install the Power Cord (if necessary)
- If your dryer does not have a pre-installed power cord, connect it following the manufacturer’s instructions.
- Match the cord’s wires to the corresponding terminals (typically labeled as L1, L2, Neutral, and Ground).
- Level the Dryer
- Place a level on top of the dryer and adjust the leveling feet as needed.
- Test the Dryer
- Plug in the dryer and run it on a low-heat setting to check for proper operation and venting.
Step 4: Final Steps
- Secure the Machines
- If stacking a washer and dryer, use the manufacturer’s stacking kit to secure the units.
- Place anti-vibration pads under the machines if needed to reduce noise and movement.
- Inspect the Area
- Ensure all connections are tight, and there are no leaks or loose hoses.
- Clean Up
- Remove all tools and packaging materials from the area.
- Wipe down the machines to remove fingerprints or dust.
Safety Tips
- Always follow the manufacturer’s instructions and local building codes.
- Do not overtighten connections to avoid damaging hoses or valves.
- Regularly inspect hoses and ducts for wear and tear to prevent leaks or blockages.
Professional Installation by Instafit Appliances
With over 11 years of experience, Instafit Appliances offers expert installation services for washers, dryers, and combination units. Our certified team ensures your laundry machines are set up safely and efficiently, giving you peace of mind. Contact us today for professional assistance!

